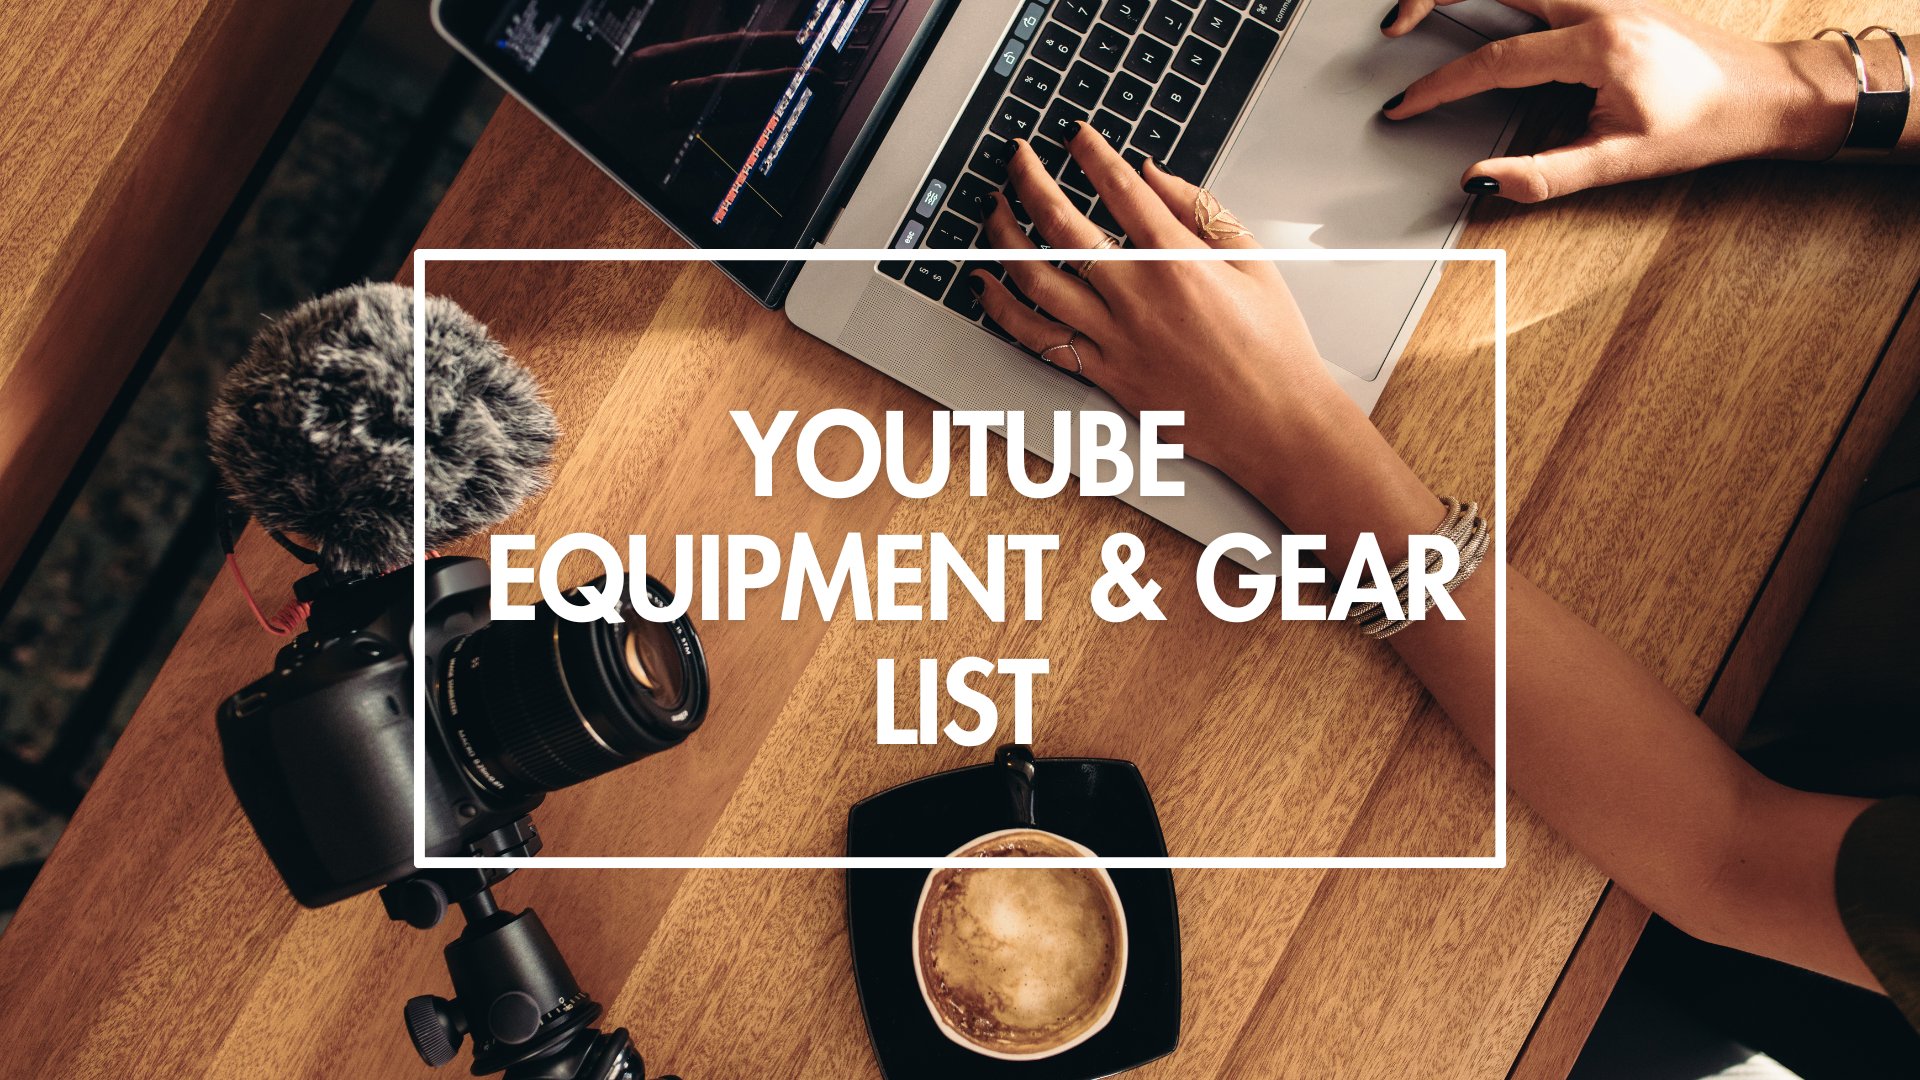
The quality of your videos can significantly impact viewer engagement and your channel’s growth. Your video must have great content, clear visuals, and audio. Also checkout the 25 most popular YouTube channel ideas to pick the right niche. You don’t have to spend a fortune on the latest equipment; rather, it’s about investing wisely in key pieces that will make a real difference to your production quality.
Now, let’s break down each single equipment to help you make the best picks for your YouTube gear.
1. Camera
When starting out, you might wonder whether you need a high-end vlogging camera to produce quality YouTube videos. The answer is, not necessarily. The type of camera you choose will depend on the content you plan to create. A DSLR or mirrorless camera with good autofocus is ideal for vlogging, interviews, or any content with much movement. Remember to clean camera lens and body regularly to get the most out of them.
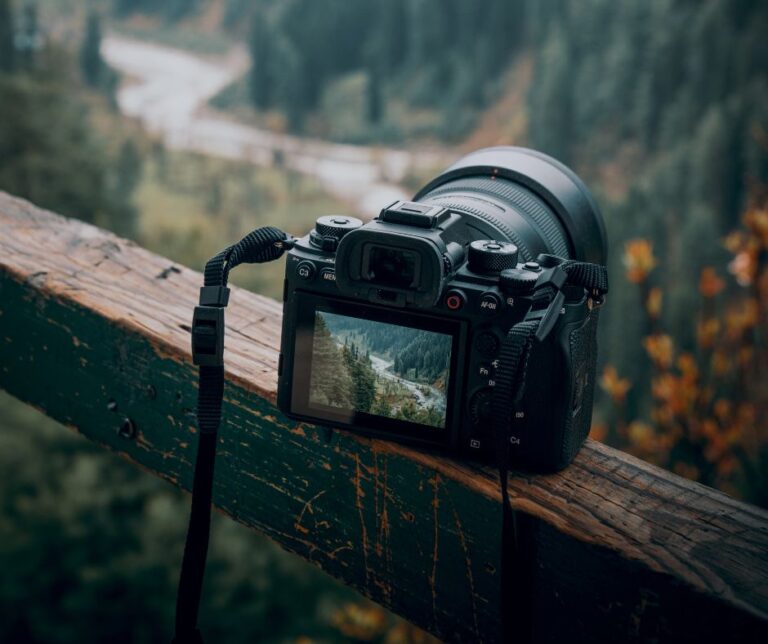
DSLR or Mirrorless Camera
DSLR and mirrorless cameras offer several advantages, including better image quality, control over depth of field, and a wide range of lenses to choose from. These cameras also perform better in low-light conditions than smartphones or webcams. If you’re looking to produce cinematic content or have more control over your image, investing in a DSLR or mirrorless camera could be a wise choice.
Smartphones
Smartphones have incredibly powerful cameras and have come a long way regarding video capabilities. Many content creators successfully use their smartphones to create YouTube videos. If you’re on a tight budget or just testing the waters, starting with your smartphone is a smart move. Just make sure to use the rear camera for better quality and consider using additional lenses that can be clipped onto your phone for a more professional look.
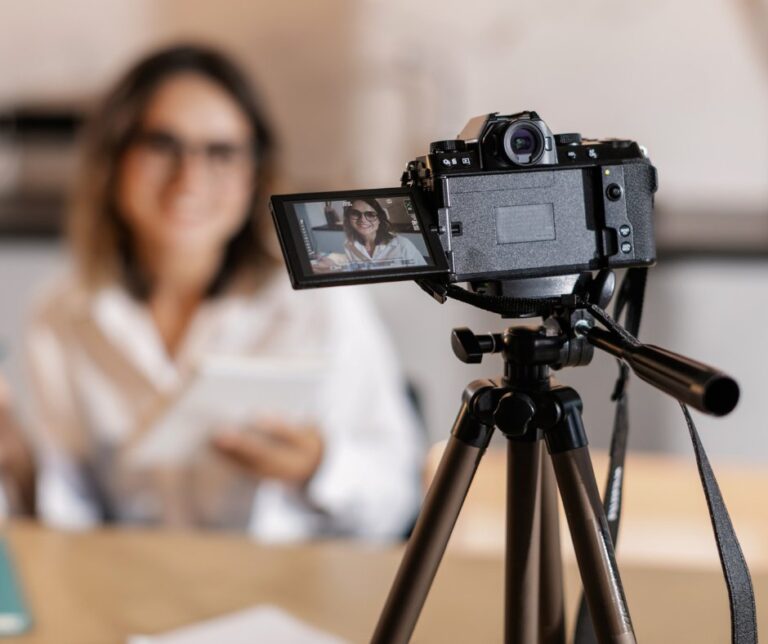
2. Tripod
A shaky video can be distracting and give a sense of nonprofessional recording. To avoid shakiness, a tripod is your best friend. A good tripod provides a stable base for your camera or smartphone, ensuring your footage remains steady and professional-looking. Whether you’re shooting indoors or outdoors, a tripod is one of the most essential equipment for any YouTuber.
There are various types of tripods to choose from. Traditional tripods are great for stationary shots. If you’re vlogging on the go, consider a gorilla pod or a handheld gimbal stabilizer that can adapt to different surfaces and angles. An overhead tripod rig is necessary for overhead shots, like in cooking or crafting videos.
Features to Look For in a Tripod
When selecting a tripod, look for one with adjustable legs and a smooth panning head for different heights and angles. Make sure it is compatible with your camera or phone, sturdy enough to support the weight, and portable if you plan to shoot on location. Some tripods also have additional features like built-in levels and quick-release plates, which are very convenient.
3. Microphone
Your audience might forgive a less-than-perfect video quality, but poor audio is often a deal-breaker. A microphone is required for recording clear and crisp sound. Bad audio can distract your viewers and even make them click away from your video, so investing in a quality microphone is just as important as investing in a camera.
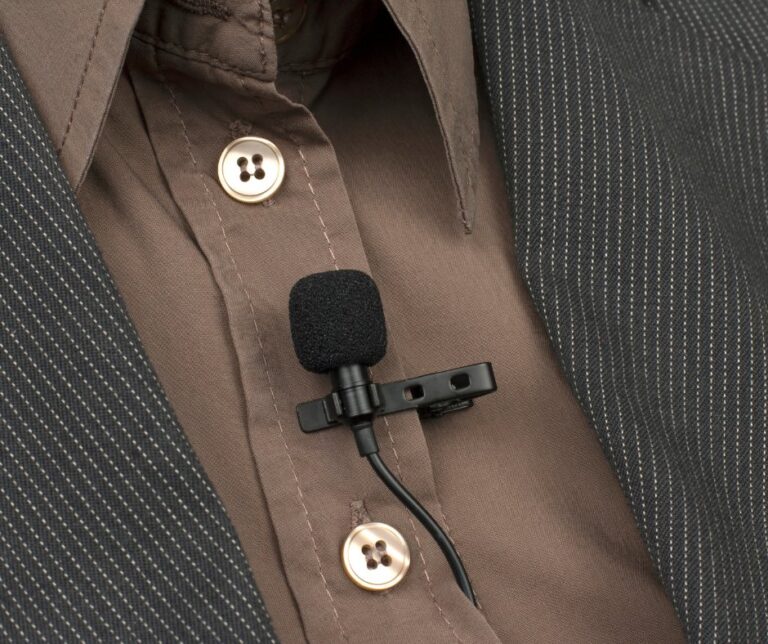
Choosing the Right Type of Microphone
There are several types of microphones you can use for YouTubers. Lavalier microphones are great for interviews and vlogs because they can be clipped to your shirt, providing consistent audio as you move. Shotgun microphones are suitable for directional audio, reducing background noise when recording in noisy environments. For voiceovers or podcasts, a condenser microphone connected to your computer can provide studio-quality sound.
Many affordable options can significantly improve your audio quality. Look for microphones with 5-star reviews from other content creators, and consider the type of content you’ll be producing when making your choice. Always remember that good audio quality can elevate your content and keep your audience engaged.
4. Lighting
Lighting can make or break your video. Good lighting ensures that your subject is well-lit and that the colors in your video pop. It also helps to avoid grainy footage, which can occur in low-light conditions. Whether you’re filming during the day or at night, having the proper lighting setup is essential for professional-looking videos.
When investing in lighting, consider the type of videos you’re producing and the space you’re working in. Softboxes can diffuse light for a softer look, while umbrellas can be used to bounce light for a more natural effect. It’s also worth considering the color temperature of your lights to match the natural light in your shooting environment. Good lighting doesn’t have to be expensive, but it should be versatile enough to work for different types of videos.
Umbrella Light
The umbrella light is one of the most popular lighting tools used in YouTube video production. This type of lighting is known for its ability to diffuse light broadly across a wide area, resulting in softer shadows and a naturally illuminated environment. It’s an ideal choice for YouTubers who want to minimize harsh shadows and create an evenly lit scene. With an umbrella light, you can achieve a more professional look in your videos, making it perfect for tutorials, interviews, or just about any type of video content that requires a well-lit setting.
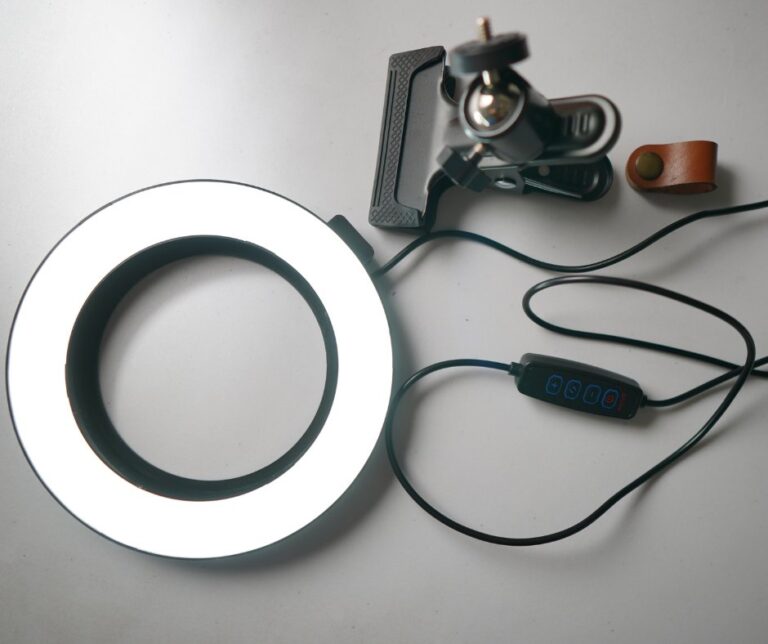
Ring Light
Ring lights are another popular choice among YouTube creators. This type of lighting tool is characterized by its circular shape, with the light source surrounding the camera’s lens. Ring lights are commonly used in beauty and makeup tutorials because they provide even, direct light on the subject’s face, eliminating shadows and highlighting features. Not only do ring lights help to enhance the subject’s appearance, but they also create a distinct circular catchlight in the eyes, adding a captivating touch to the video.
Softbox Light
Lastly, softbox lights are often used in YouTube video creations because of their ability to produce soft and even light. These lighting tools include a box with a reflective interior and a translucent front that diffuses the light source. Softboxes can be especially helpful for reducing harsh shadows and creating a natural-looking light that mimics daylight. They are often used in product reviews and food photography due to their ability to bring out the texture and details of an object.
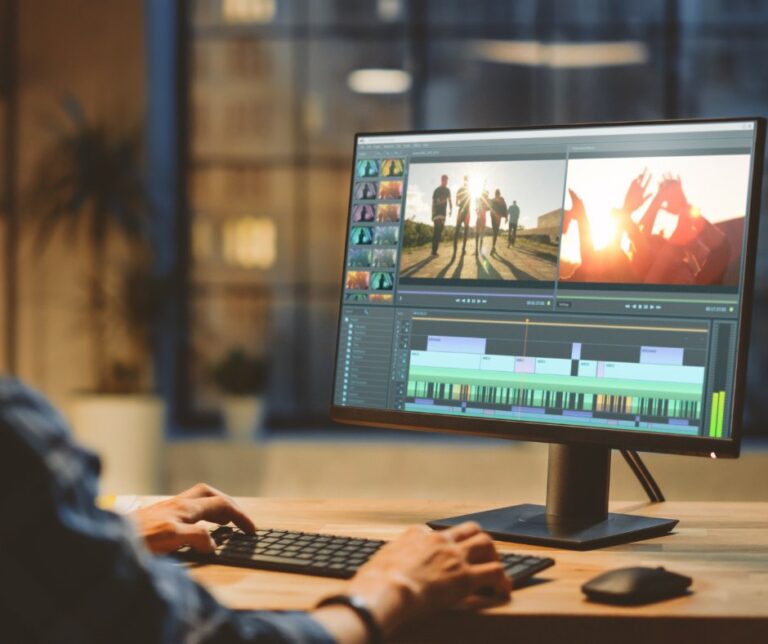
5. Laptop or Computer
Once you’ve recorded your video, the next step is editing. You’ll need a computer or laptop that can handle video editing software. Your system’s specifications will depend on the complexity of your edits and the resolution of your footage. A faster processor, more RAM, and a dedicated graphics card can all contribute to a smoother editing experience.
You don’t need the most expensive computer to start editing YouTube videos, but you do need one that won’t slow you down. Look for the best specifications you can afford, and consider buying refurbished or second-hand if it means getting a better system within your budget. Remember, time is money, and a faster system can save you much time in the long run.
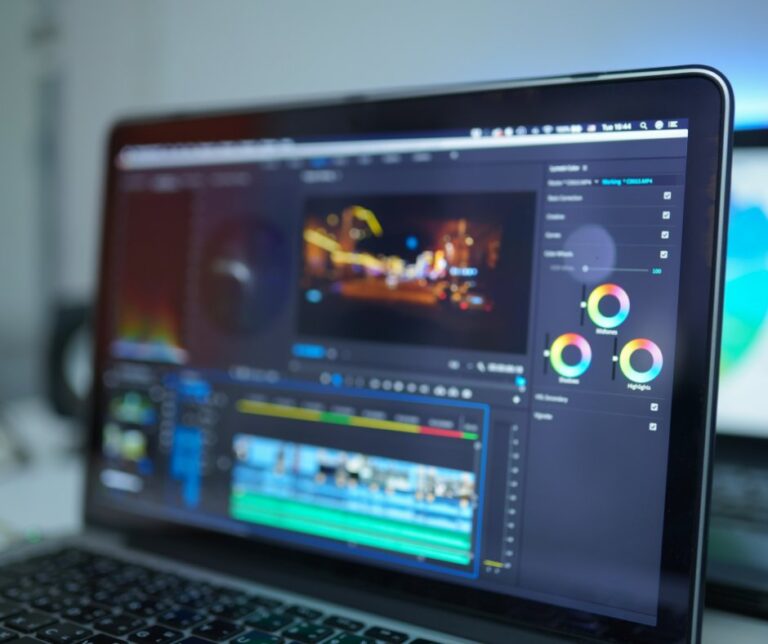
6. Video Editing Software
Video editing software brings your footage to life. Many different options are available, from free programs like DaVinci Resolve or HitFilm Express to professional-grade software like Adobe Premiere Pro or Final Cut Pro.
Choosing the right video editing software depends mainly on the user’s needs, technical skills, and budget. Regardless of which software you choose, investing time in learning and mastering these tools can significantly enhance the quality of your YouTube content.
Adobe Premiere
Adobe Premiere is a professional video editing software highly favoured by YouTubers, filmmakers, and television broadcasters. Its robust suite of tools allows for intricate manipulation of video files, enabling users to create high-quality content that resonates with their audiences. Adobe Premiere offers a range of features including multi-camera editing, 3D editing, and a large selection of video effects. However, it can be pretty complex and may require a steep learning curve for beginners.
Final Cut Pro
Final Cut Pro is another top-tier editing software commonly used professionally. It’s an Apple product that is only available to Mac users. Final Cut Pro stands out due to its impressive rendering speed and magnetic timeline feature, making arranging and rearranging clips quite intuitive. It also has a one-time purchase model rather than a subscription-based one like Adobe Premiere, making it a more cost-effective choice for some users.
Canva Pro
Canva Pro, while not exclusively a video editing software, offers user-friendly design tools for creating engaging YouTube thumbnails, channel art, and other graphics. In addition, it has recently added a simple but useful video editor that allows users to trim clips, add text overlays and music. Its drag-and-drop interface makes it an ideal choice for beginners or those looking to create visually appealing videos quickly without extensive editing knowledge.
7. Stream Deck for Live Video
A stream deck can be your best assistant for live streaming on YouTube. It allows you to switch between scenes, launch media, adjust audio, and even send chat messages without navigating through software menus. This level of control can make your live streams look more professional and allow you to interact with your audience more seamlessly.
The good thing about a stream deck is that it lets you program custom shortcuts and macros, which means you can execute complex actions by pressing a button. Whether you’re streaming gameplay, tutorials, or Q&A sessions, a stream deck allows you to manage your live production like a pro.

When shooting videos indoors, having a quiet and controlled environment is key. External noises like traffic, construction, or even household appliances can be picked up by your microphone and distract from your content. Choosing a quiet place to shoot will ensure that your audio is clear and free of unwanted noise.
Even if you have limited space, there are ways to make the most of it. Use backdrops to create a clean, professional look, or set up your shooting area near a window to take advantage of natural light. Be mindful of the colors and decor in your space, as these can affect the mood and feel of your videos.