
Before uploading your video on YouTube, you must do a few things to ensure your video reaches the maximum number of viewers and garners immense engagement. Proper checks include crafting a great title, writing a complete description, and using descriptive tags along a catchy thumbnail as well. Learn how to create a YouTube channel to begin right away.
How to Upload a Video to YouTube on a Desktop
Sharing your content with the world has always been challenging, and YouTube stands as one of the most popular platforms for doing so. Whether you’re learning to make a YouTube video, knowing how to upload your videos is also important. In this comprehensive guide, you’ll learn step-by-step how to upload a YouTube video from your desktop – ensuring your digital storytelling is as seamless as possible.
Open Your Browser
Before you begin your journey to share your video with the world, you must start with the basics. Open your computer and click on the browser icon of your choice. Whether it’s Google Chrome, Firefox, Safari, or Edge, the process remains relatively the same. Ensure your Internet connection is stable to avoid any hiccups during uploading. A slow or intermittent connection can delay the upload and cause it to fail.
Once your browser is up and running, take a moment to check if it’s up to date. An outdated browser can lead to security risks and compatibility issues. To avoid any problems, go to the browser’s settings or help section and check for any available updates. If there are any, install them before proceeding.
After you’ve ensured that your browser is ready to go, it’s time to navigate to the platform where your video will find its audience – YouTube.
Open YouTube Website Using Address Bar
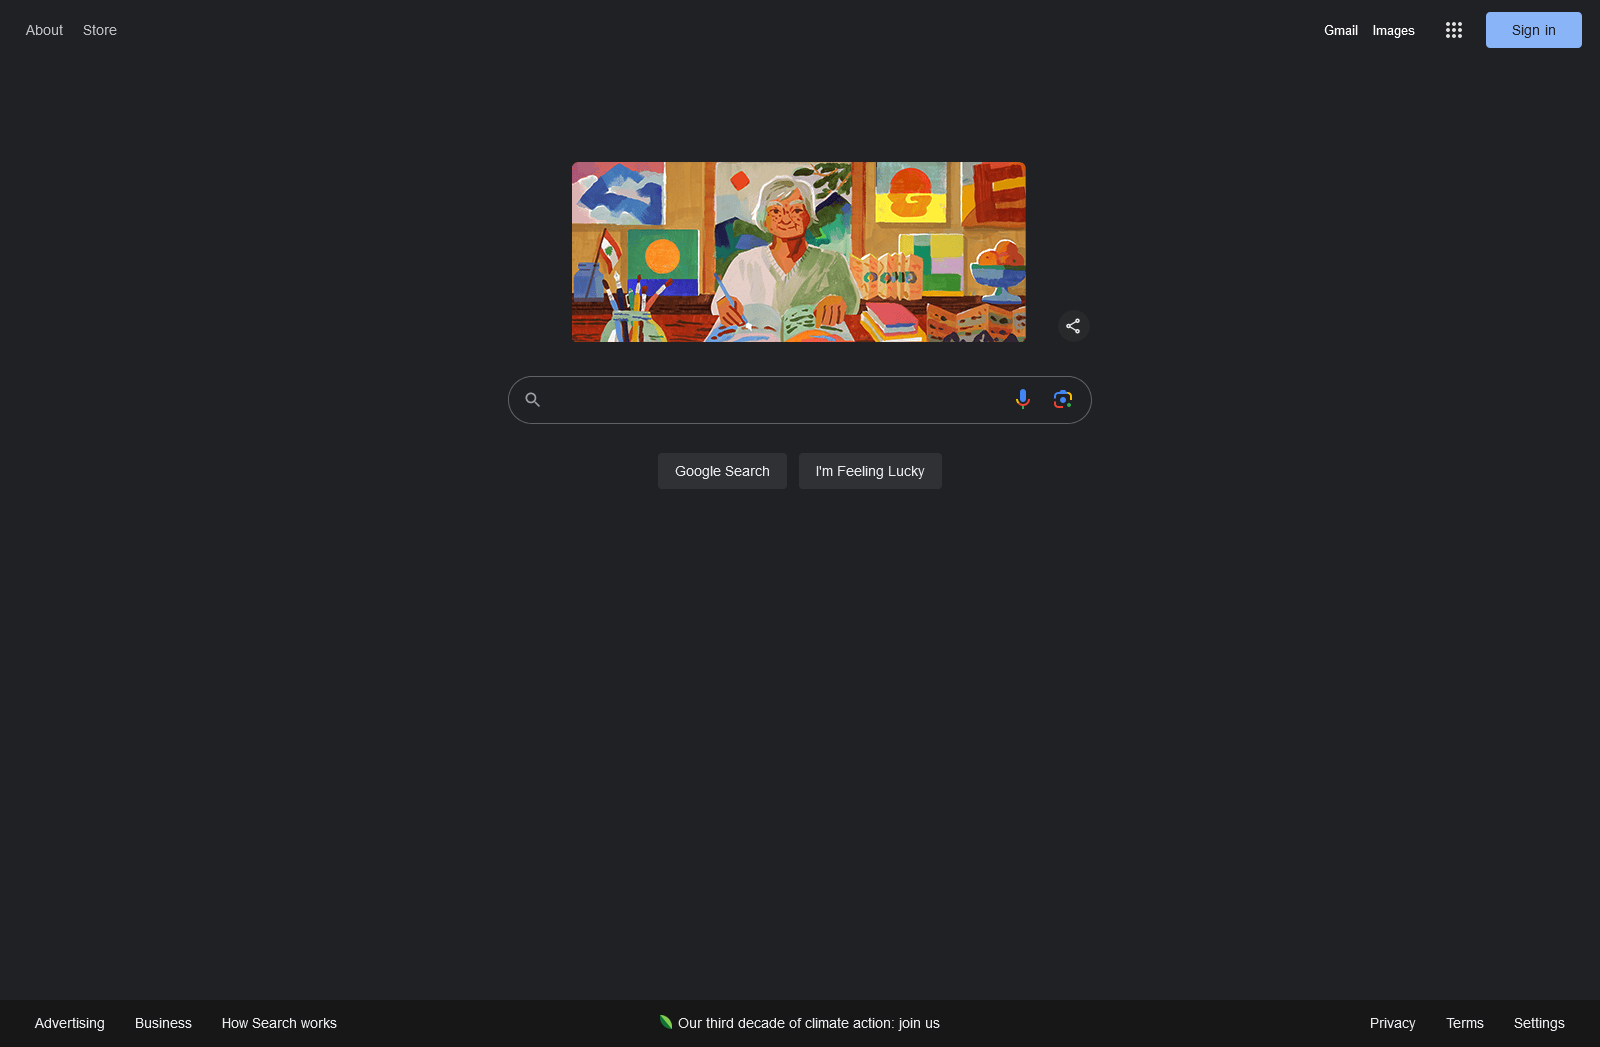
In the address bar at the top of your browser, type in ‘www.youtube.com and press Enter. You’ll be taken directly to YouTube’s home page. Your focus is to upload your own video.
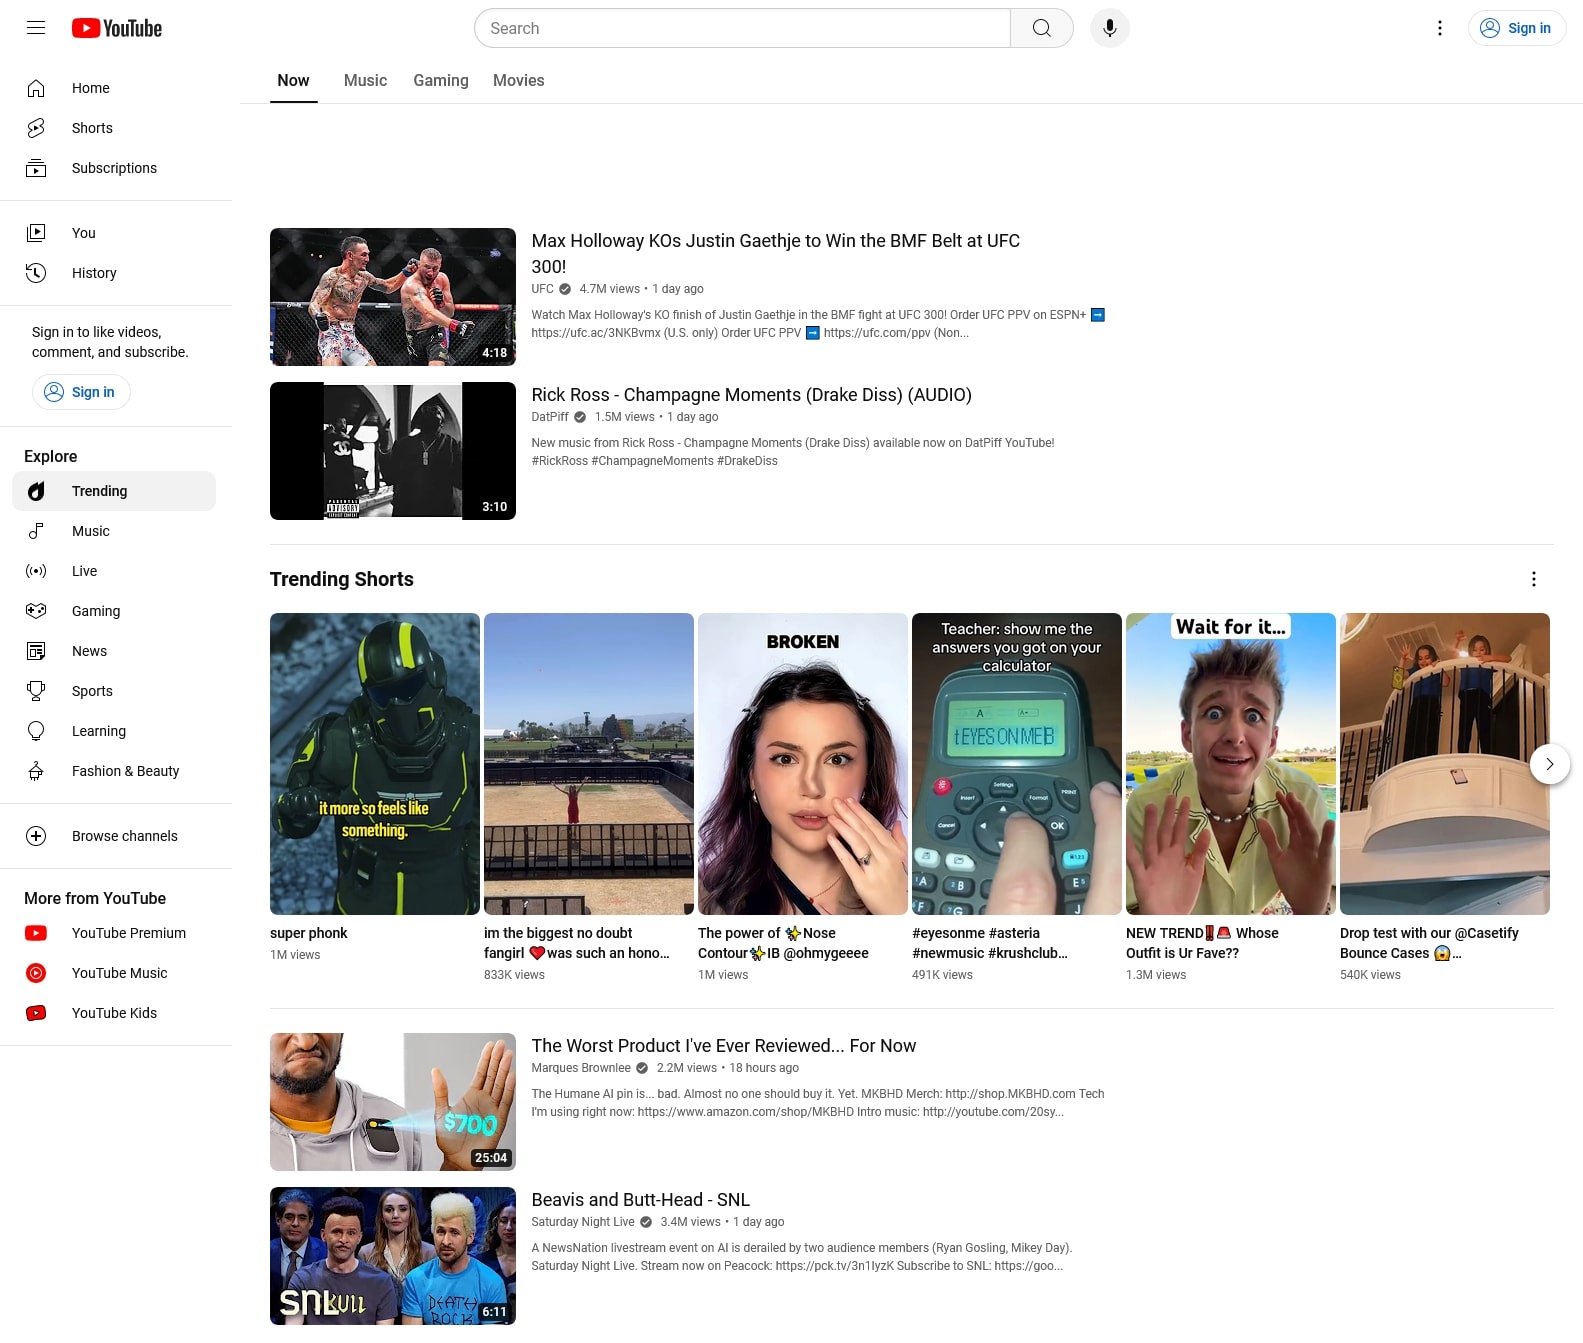
As the YouTube home page loads, familiarize yourself with the layout. If you’re new to YouTube, take a moment to explore. Click on different tabs to see where they lead. The more comfortable you are navigating YouTube, the easier the upload process will be.
Remember to keep an eye out for any pop-up messages that YouTube may display. These can contain valuable information about new features or changes to the upload process that could affect your video.
Log in to YouTube Account
Look for the ‘Sign In’ button in the top right corner of the YouTube home page. Click on it, and you’ll be prompted to enter your Google account information. If you don’t have a Google account, you’ll need to create one to proceed.
Enter your email or phone number associated with your Google account, followed by your password. If you have multiple Google accounts, make sure to choose the one associated with your YouTube channel. Security is important, so double-check that your login credentials are correct and that you’re logging into a secure browser.
After successfully logging in, you should see your account icon in the top right corner of the page. That indicates that you’re ready to start the video upload process.

Click the "Upload a Video" Icon
Now that you’re logged in, you’re ready to begin the actual upload process. Look for the camera icon with a ‘+’ sign, typically located next to your account icon. The ‘+’ sign is the universal symbol for uploading content on YouTube. When you hover over this icon, it usually says “Create” or “Upload Video.” Click on it to proceed.
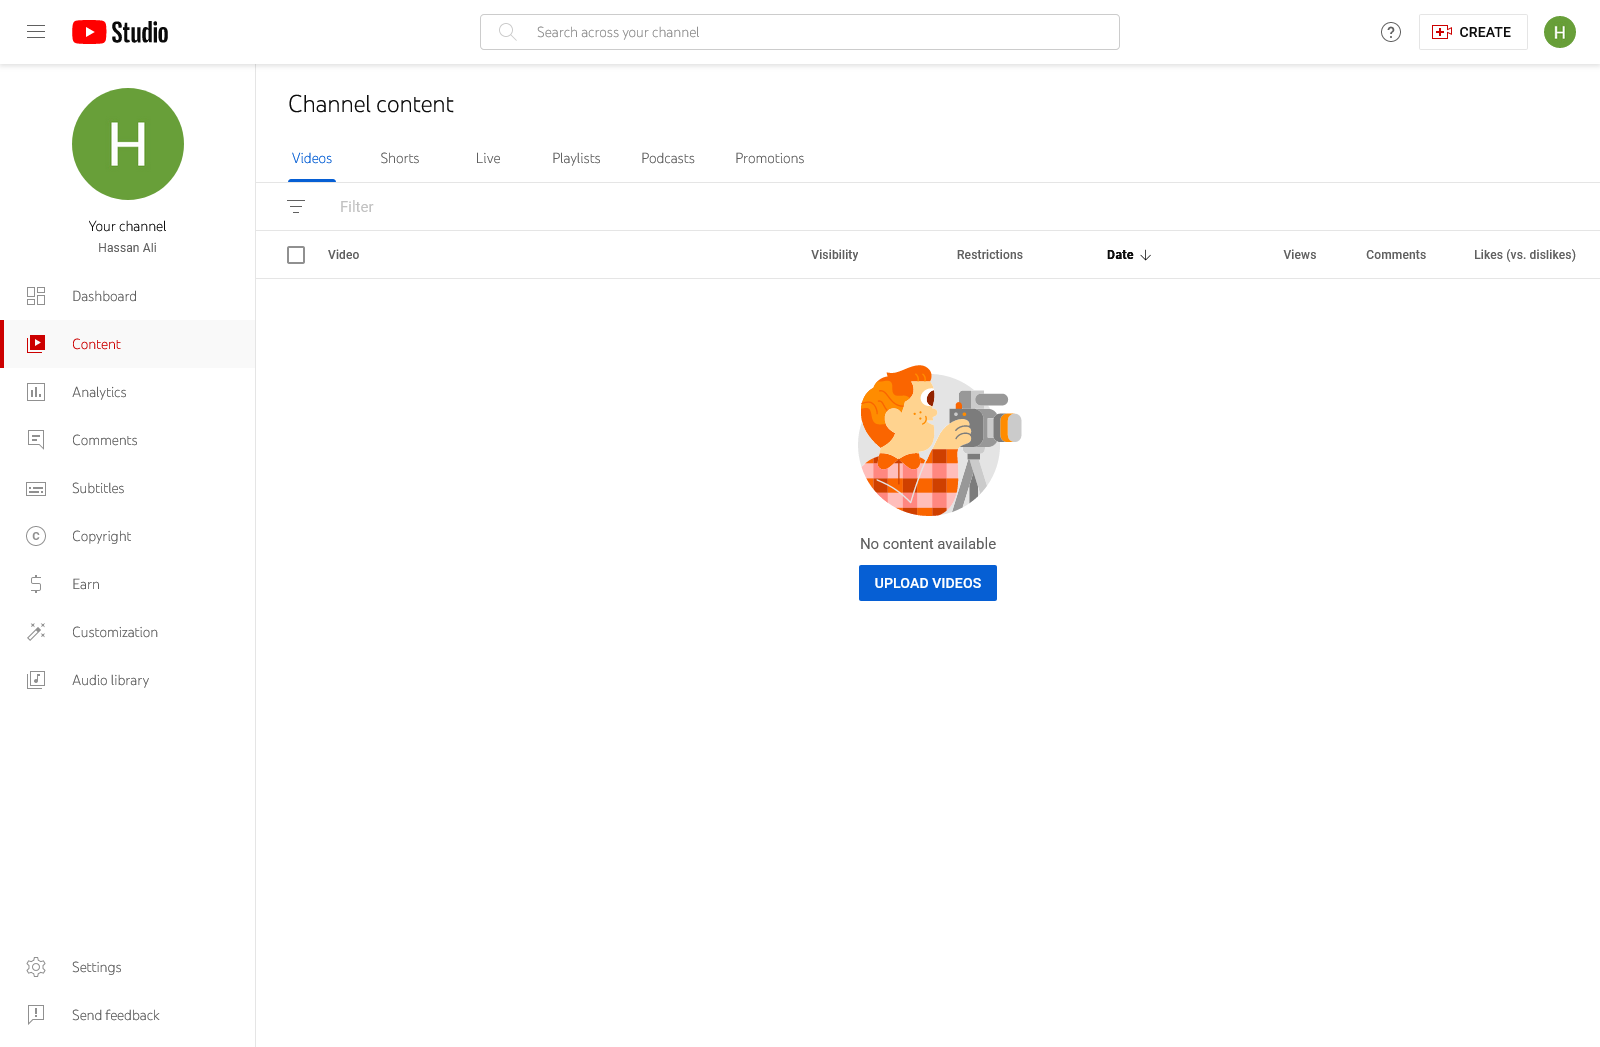
After clicking the icon, a menu with several options will appear. You want to select ‘Upload Video.’ which will take you to the YouTube Studio, which is the backend of your YouTube channel. It’s here where all the magic happens – from uploading content to analyzing your video’s performance.
Take a moment to familiarize yourself with YouTube Studio. It’s packed with tools and metrics that can help you manage your channel effectively. However, for the purpose of this guide, keep your focus on uploading your video.
Select Your Options on the "Upload a Video" Page

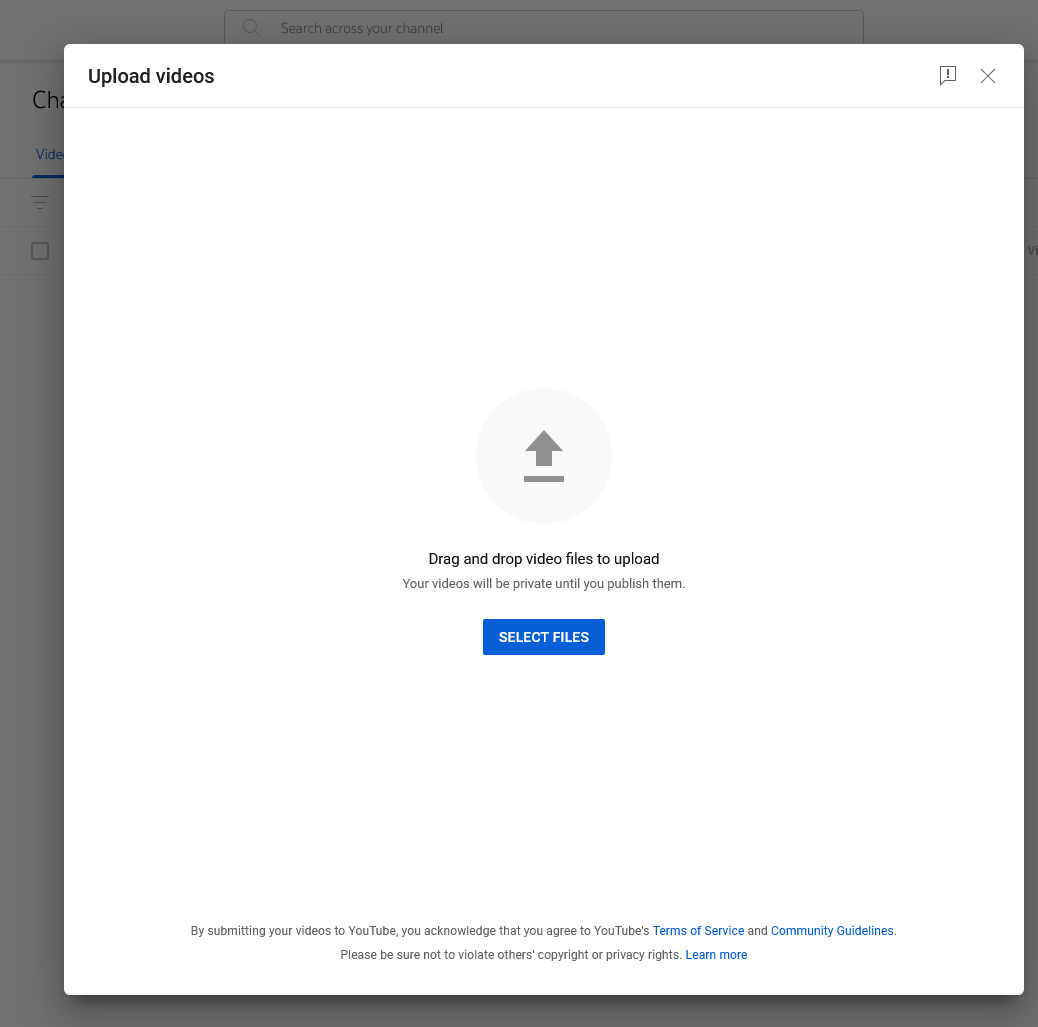
Once you’re in the YouTube Studio, you’ll find yourself on the ‘Upload Videos’ page. Here, you’ll be greeted by a window that prompts you to select files to upload or drag and drop video files. Before you rush to upload the video, take a moment to look at the options available on this page.
You’ll notice that there are several settings you can adjust for your video. These include visibility options, such as whether the video will be public, unlisted, or private. You can also choose if you want to schedule the video to go live at a later time. Think carefully about these settings as they dictate how and when your audience will see your content.
Additionally, you may be able to tweak advanced settings, such as adding the video to a playlist, choosing a category, or enabling age restrictions. Take your time to explore these options, as they can significantly affect how your video is received and who can view it.
Choose Your Video File To Upload
After familiarizing yourself with the settings, it’s time to select the video file you wish to upload. You can either drag and drop the file directly into the window or click on the ‘Select Files’ button to open your file explorer and choose the video you want to share.
When selecting your file, ensure that it’s in one of the compatible formats that YouTube supports, such as .MP4, .MOV, or .AVI. The file size and length also matter – YouTube has limits, and for most users, this means a maximum of 15 minutes and a file size under 2 GB unless you’ve verified your account for longer uploads.
Once you’ve chosen the correct file, your video will begin to upload. A progress bar will indicate how the upload is going. Depending on the size of your video and your Internet speed, this could take anywhere from a few minutes to several hours.
Enter Information About Video
While your video is uploading, you can start entering important information. Info includes the video title, description, and tags. Each of these elements is crucial for helping viewers find your video through search and recommendations.
Compose a catchy and descriptive title that includes keywords related to your video’s content because a video title is one of the first things viewers will see and can significantly influence whether they click on your video.
The description box gives you more space to elaborate on the content of your video. Include any relevant links, such as to your social media profiles or a website. Don’t forget to add tags – these are keywords that help categorize your video and improve its discoverability.
Lastly, you’ll want to add a thumbnail, which is the static image viewers will see before clicking on your video. You can choose one of the auto-generated thumbnails that YouTube offers or upload a custom one. A compelling thumbnail can significantly increase your video’s click-through rate.

Review and Publish Your Video
After you’ve entered all the necessary information and your video has finished uploading, you’ll come to the final step – publishing. Before you publish, take a moment to review all the information you’ve entered. Make sure everything is accurate and that you’re satisfied with how your video is presented.
Once you’re ready, you can hit the ‘Publish’ button. If you’ve chosen to schedule your video, you’ll select the date and time you want it to go live. Once you confirm, YouTube will process your video, which can take some time, depending on the video’s length and quality.
After processing is complete, your video will be live on YouTube for the world to see! You’ll receive a confirmation, and YouTube will provide you with a link to your video. Share this link on your social media, website, or with friends and family to gain views.
Congratulations, you’ve successfully uploaded a video to YouTube using your desktop! Now that you know the process, you can continue to share your content and grow your audience. Keep creating, keep uploading, and watch as your digital footprint expands across the YouTube universe.
How to Upload Your Video on YouTube Using Smartphone
Before you can start sharing your videos with the world, you must install the YouTube app on your mobile device. If you haven’t done so already, head over to your device’s respective app store—Google Play for Android users and the App Store for iOS users—and download the app. It’s a quick and straightforward process.
Log in to Your YouTube Account
To upload a video, you must be logged into your YouTube account. If you’re not signed in, tap on the profile icon which is located at the top-right corner of the screen. You’ll be redirected to sign in using your Google account, which is necessary because YouTube is a Google-owned service. If you don’t have a Google account, you must create one; this can also be done through the app.
Enter your email address and password to log in. If you have multiple Google accounts, make sure you choose the one associated with the YouTube channel where you want to upload your video. It’s essential to double-check this, especially if you manage more than one channel or if you also use your device for work or personal email.
Once you’re logged in, your profile picture will replace the generic icon in the corner. You can access your channel, view your playlists, and, more importantly, upload your video content directly from your mobile device.
Click the Video Icon
With the app opened and your account logged in, it’s time to start the upload process. Look for the video camera icon, which is typically located at the top of your screen. This icon is universally recognized as the symbol for recording or uploading video content. Tap on it to proceed to the next step in the upload process.
When you tap the video icon, you’ll usually be presented with two options: ‘Record’ and ‘Upload’. If you want to capture a new video using your phone’s camera and upload it directly, choose ‘Record’. However, for the purpose of this guide, we’re focusing on uploading videos that are already on your device. So, you should select ‘Upload’, which will take you to your phone’s gallery or camera roll, where all your videos are stored. From here, you’re just a few taps away from selecting the video you’d like to share with your YouTube audience. Remember, YouTube supports various video formats, but it’s best to stick to popular formats like .MP4 or .MOV for optimal compatibility.
Select the Video You Want to Upload
Now, you’re in your gallery, and it’s time to choose the video you wish to upload. Scroll through your videos and tap on the one you want to share. Once you select a video, it will usually start playing in a preview window. Here is your chance to review the video and ensure it’s correct and plays back correctly without any issues.
Many mobile devices offer basic editing tools if the video you’ve chosen is too long or contains segments you’d like to remove. You can trim the start and end points of the video, ensuring that your viewers only see the content you want them to see. However, consider using a dedicated video editing app before you upload for more complex editing.
After you’ve selected and possibly edited your video, tap ‘Next’ or the appropriate button to move to the next stage in the process. It’s worth mentioning that YouTube has file size and length limits, so ensure your video complies with those restrictions. As of the time of this writing, YouTube allows you to upload videos up to 128GB in size or 12 hours in length, whichever is less.
Add Video Title, Description, Tags, and Other Info
With the app opened and your account logged in, it’s time to start the upload process. Look for the video camera icon, which is typically located at the top of your screen. This icon is universally recognized as the symbol for recording or uploading video content. Tap on it to proceed to the next step in the upload process.
When you tap the video icon, you’ll usually be presented with two options: ‘Record’ and ‘Upload’. If you want to capture a new video using your phone’s camera and upload it directly, choose ‘Record’. However, for the purpose of this guide, we’re focusing on uploading videos that are already on your device. So, you should select ‘Upload’, which will take you to your phone’s gallery or camera roll, where all your videos are stored. From here, you’re just a few taps away from selecting the video you’d like to share with your YouTube audience. Remember, YouTube supports various video formats, but it’s best to stick to popular formats like .MP4 or .MOV for optimal compatibility.
Choose the Video Thumbnail and Tap "Next."
A thumbnail is like a book cover for your video; it’s the first visual impression potential viewers will have. YouTube will automatically generate a few thumbnail options from your video, but you can also upload a custom thumbnail. If you have the required channel permissions (which typically require verification), you can create and use a custom thumbnail to make your video stand out.
When selecting or uploading a thumbnail, consider what will grab your attention and accurately represent the content of your video. Bright colors, clear text, and close-up faces tend to draw more clicks. However, ensure that your thumbnail is not misleading, as this can frustrate viewers and potentially violate YouTube’s community guidelines.
Once you’re satisfied with your thumbnail choice, tap “Next” to proceed. You’re almost at the finish line! But before you publish, you’ll have a chance to review all the information you’ve entered and make any last-minute changes. Always double-check for typos, ensure all links in your description work, and confirm that you’ve chosen the correct settings for your video.
Publish Your Video
You’ve made it to the final step! After reviewing all the details and ensuring everything is set up correctly, it’s time to share your creation with the world. There will be a ‘Publish’ or ‘Upload’ button, often located at the top-right corner of the screen or at the end of the upload form. Tap this button, and your video will start uploading to YouTube.
Depending on the size of your video and the speed of your internet connection, the upload process might take a while. You can monitor the progress through the app, which will display a percentage bar. Once the upload is complete, YouTube will process the video, which can also take some time, especially for longer or higher-resolution videos.
Congratulations, your video is now live on YouTube! You can share the link with friends, post it on social media, or just sit back and watch the views come in. Remember to engage with your audience through comments and keep an eye on your video’s analytics to understand your viewers better.
Uploading videos to YouTube using a mobile phone is a convenient way to ensure your content is accessible to your audience at all times. With this step-by-step guide, you can upload videos from wherever you are, straight from your device. Keep creating, keep sharing, and watch your channel grow. Happy uploading!