Creating a YouTube channel is an exciting step towards sharing your passions, creativity and becoming a vlogger. Whether you aim to start a vlog as a hobby or want to monetize your content, understanding the process and best practices is key to your success.
Our guide will walk you through every step to ensure your YouTube journey starts on the right foot. You can choose your niche among our YouTube channel ideas based upon best performance and stats about subscribers, channel views, videos, watch time and monetization.
Before kicking off the making of your YouTube channel, it’s important to understand the landscape you’re entering. YouTube is a vast universe of content, with over 2 billion logged-in monthly users. Every minute, more than 500 hours of video are uploaded to the platform, creating a competitive but opportunity-rich environment. Checkout the tips to make a YouTube video that stands out among other competitors.
1. Create a Google Account
If you’re new to Google’s services, you must create a Google account. Signing up is simple and requires some basic information, such as your name, a new email address, and a password. Go to the Google account sign-up page, fill in the required fields, and follow the prompts.
You’ll be asked to verify your phone number for security purposes and to help recover your account if you ever lose access. Providing accurate information and a secure password to protect your account is important. Once your Google account is set up, you’re ready to start your YouTube channel and have access to the wide array of Google services available.
Creating a Google account also means that you’ll have a Gmail email address, which can be useful for networking and business purposes related to your YouTube channel. Please keep this email professional; it can be part of your brand identity.

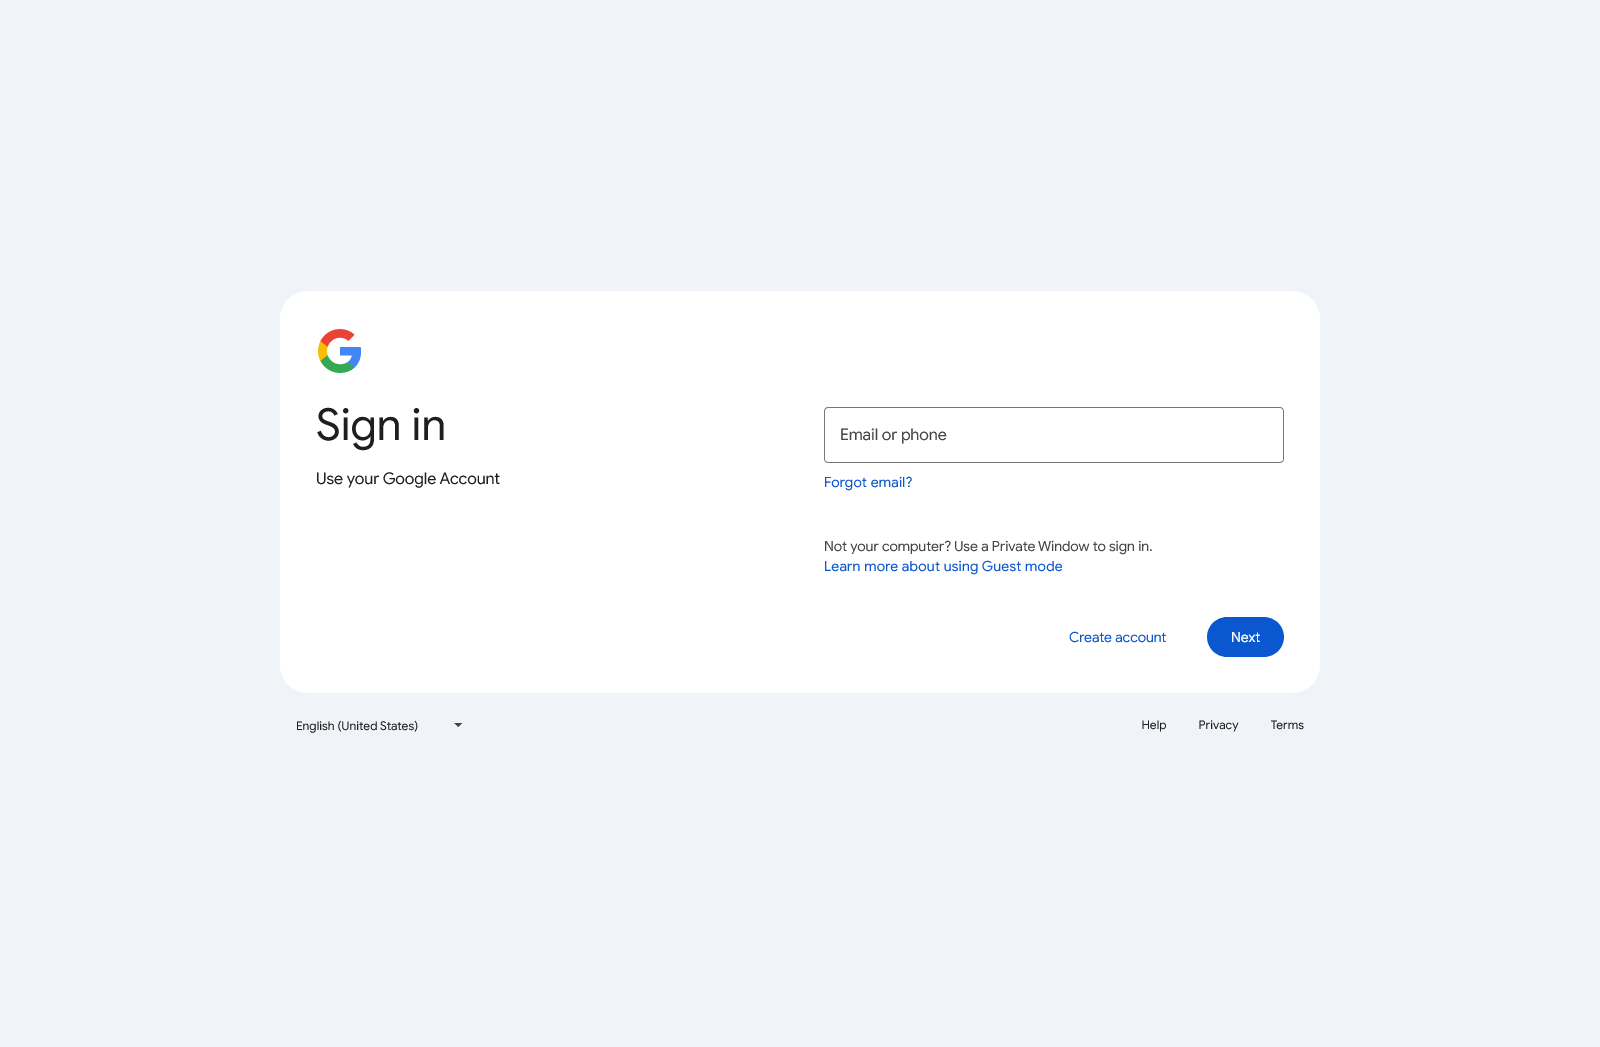
2. Sign in to Google
The first step to creating your YouTube channel is to have a Google account. If you use services like Gmail, Google Drive, or any other Google product, you already have one. Signing in is straightforward: Go to the Google homepage and click the ‘Sign In’ button at the top right corner. Use your Google credentials to log in.
You may not need to enter your details again if you’re already signed in on your device. Google keeps you signed in unless you’ve logged out manually or cleared your browser’s cache and cookies. Remember, your Google account is the key to all its services, including YouTube, so keep your login information secure.
Once you’re signed in to Google, you can access YouTube with the same account. This integration ensures a seamless experience across all of Google’s services, making the process of starting a YouTube channel much more straightforward.
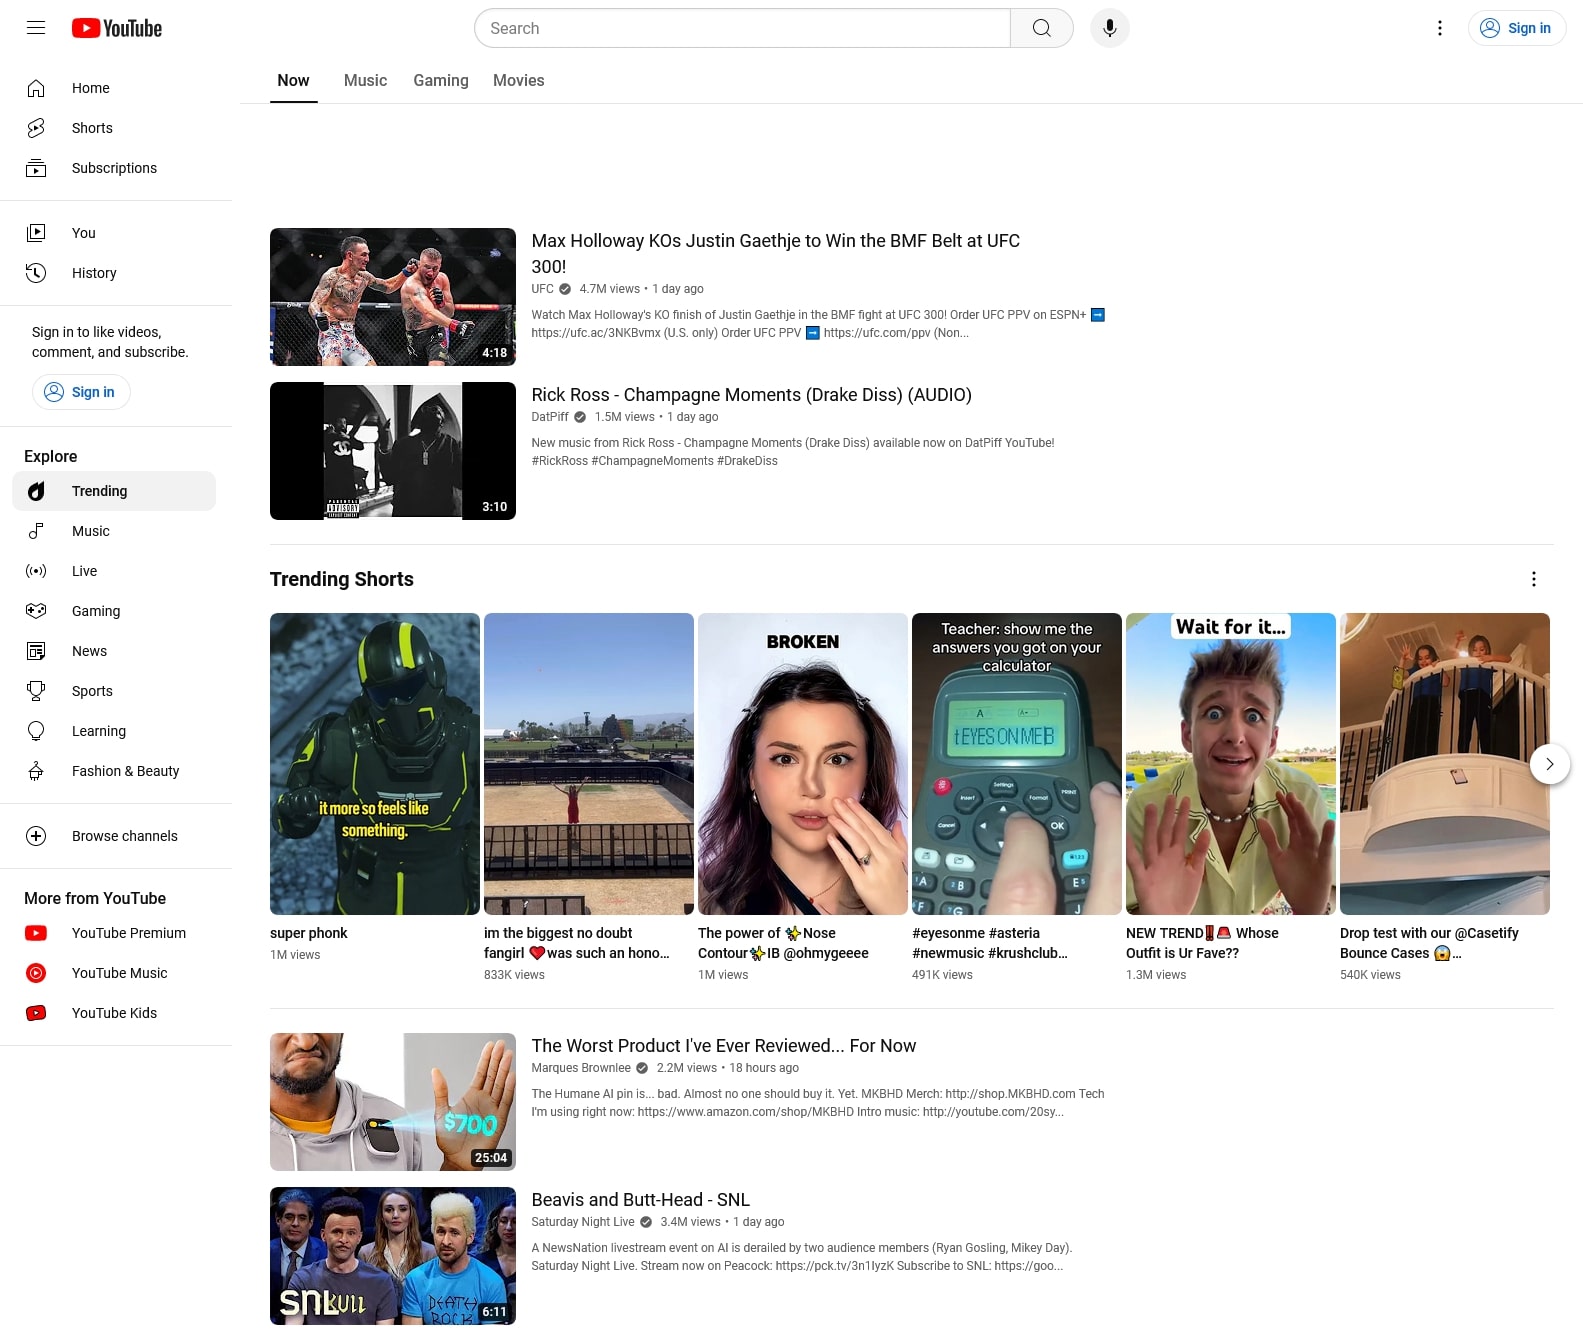
3. Login into YouTube
With your Google account ready, it’s time to head over to YouTube. Open your web browser and navigate to the YouTube website. If you’re not automatically signed in, click the ‘Sign In’ button at the top right corner and log in with your Google account details.
Once you’re signed in, you’ll notice your profile icon or initial in the top right corner of the screen. The avatar is your personal indicator that you are logged into YouTube, and it’s from here that you’ll manage your new channel. Take a moment to explore the interface if you need to become more familiar with it. You’ll find recommended videos on the homepage, trending content, subscriptions, and more.
Signing in to YouTube with your Google account is the gateway to personalizing your experience on the platform. You can create and manage your channel, like videos, subscribe to other channels, and interact with the community.
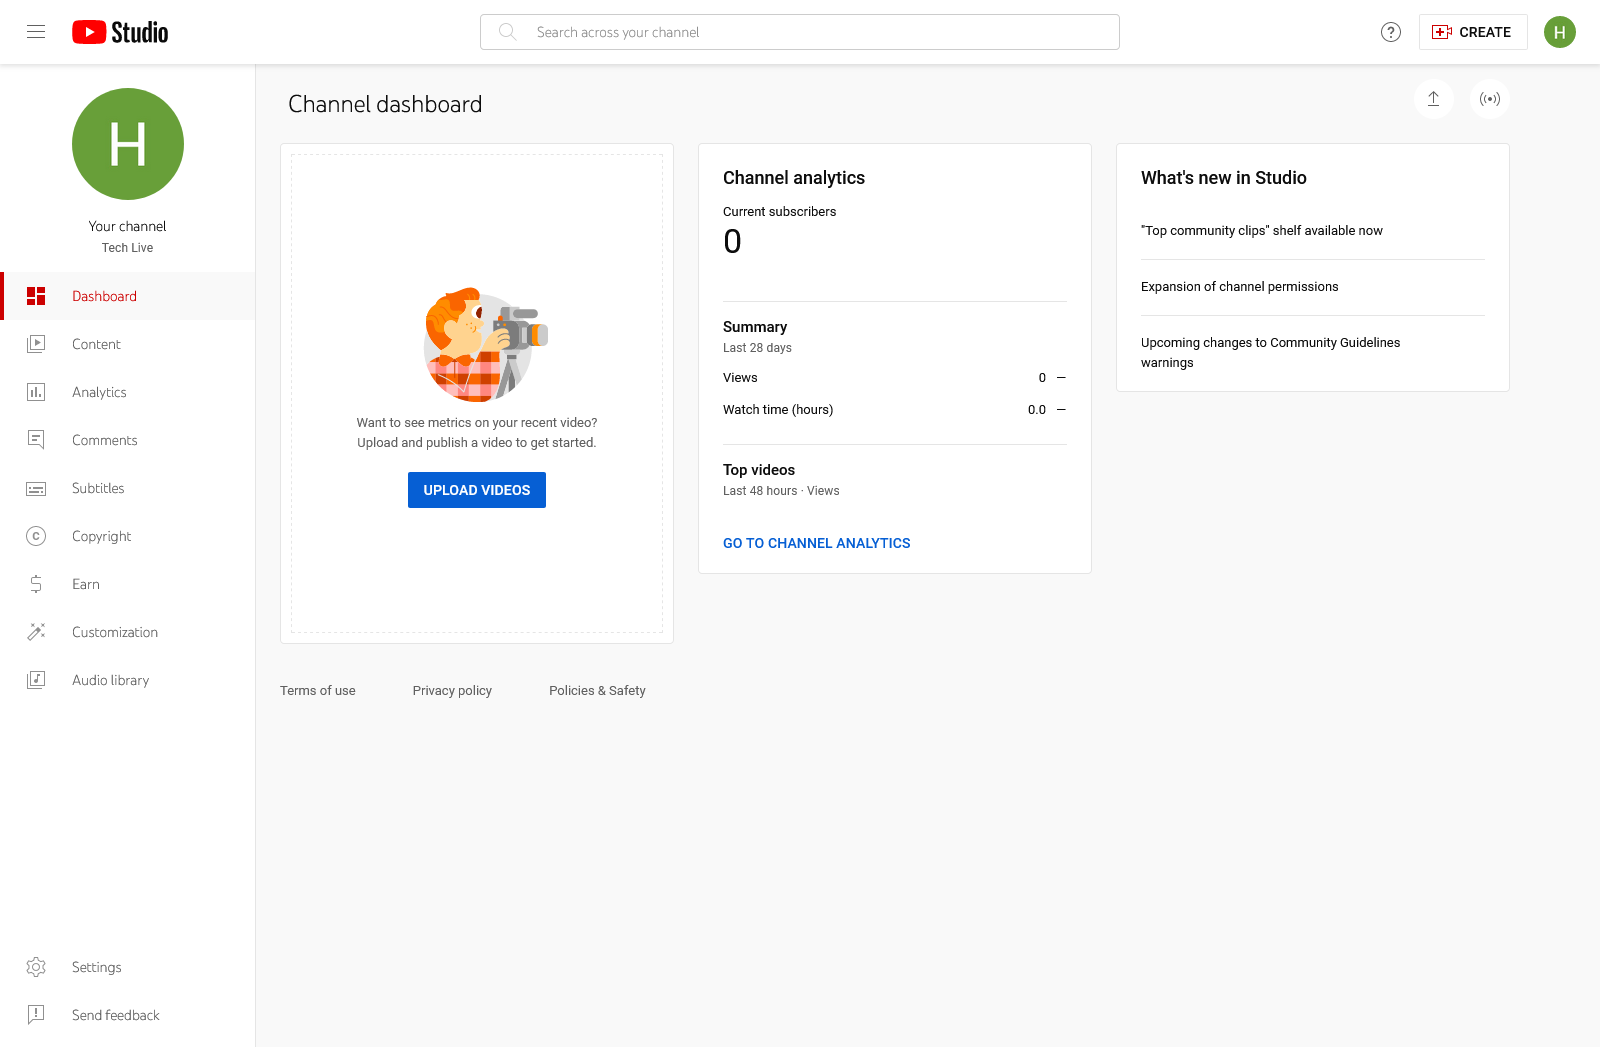
4. Channel Creation and Setup
Look for your profile icon at the top right, click on it, and select ‘Create a Channel’. You’ll have the option to create a personal channel or a channel with a business or other name. Choose the option that best fits your plan. Now, it’s time to give your channel a name. Your channel name is a big part of your brand on YouTube, so choose something memorable and relevant to your content.
After naming your channel, upload a profile picture that represents you or your brand. This image will appear whenever you comment or post videos, so make sure it’s recognizable. Next, write a compelling description for your channel. This section should explain what viewers can expect from your content. It’s also a great place to include keywords related to your niche, which can help your channel’s discoverability.
Finally, add any links to your website, social media, or other important places you want your viewers to visit. These links will appear on your channel’s banner and are a great way to cross-promote your content.

5. Verify Your Account
To unlock all the features available to YouTube creators, you’ll need to verify your account, and this is done through your phone. Click on your profile icon and go to ‘Settings’, then to the ‘Channel Status and Features section. Here, you’ll find the option to verify your account by providing your phone number.
YouTube uses this step to measure against spam and ensure that each account is associated with a real person. You’ll receive a text message or a voice call with a verification code. Enter that code into the required field on YouTube, and your account will be verified. This process allows you to upload videos longer than 15 minutes, create custom thumbnails, go live, and appeal content ID claims, among other things.
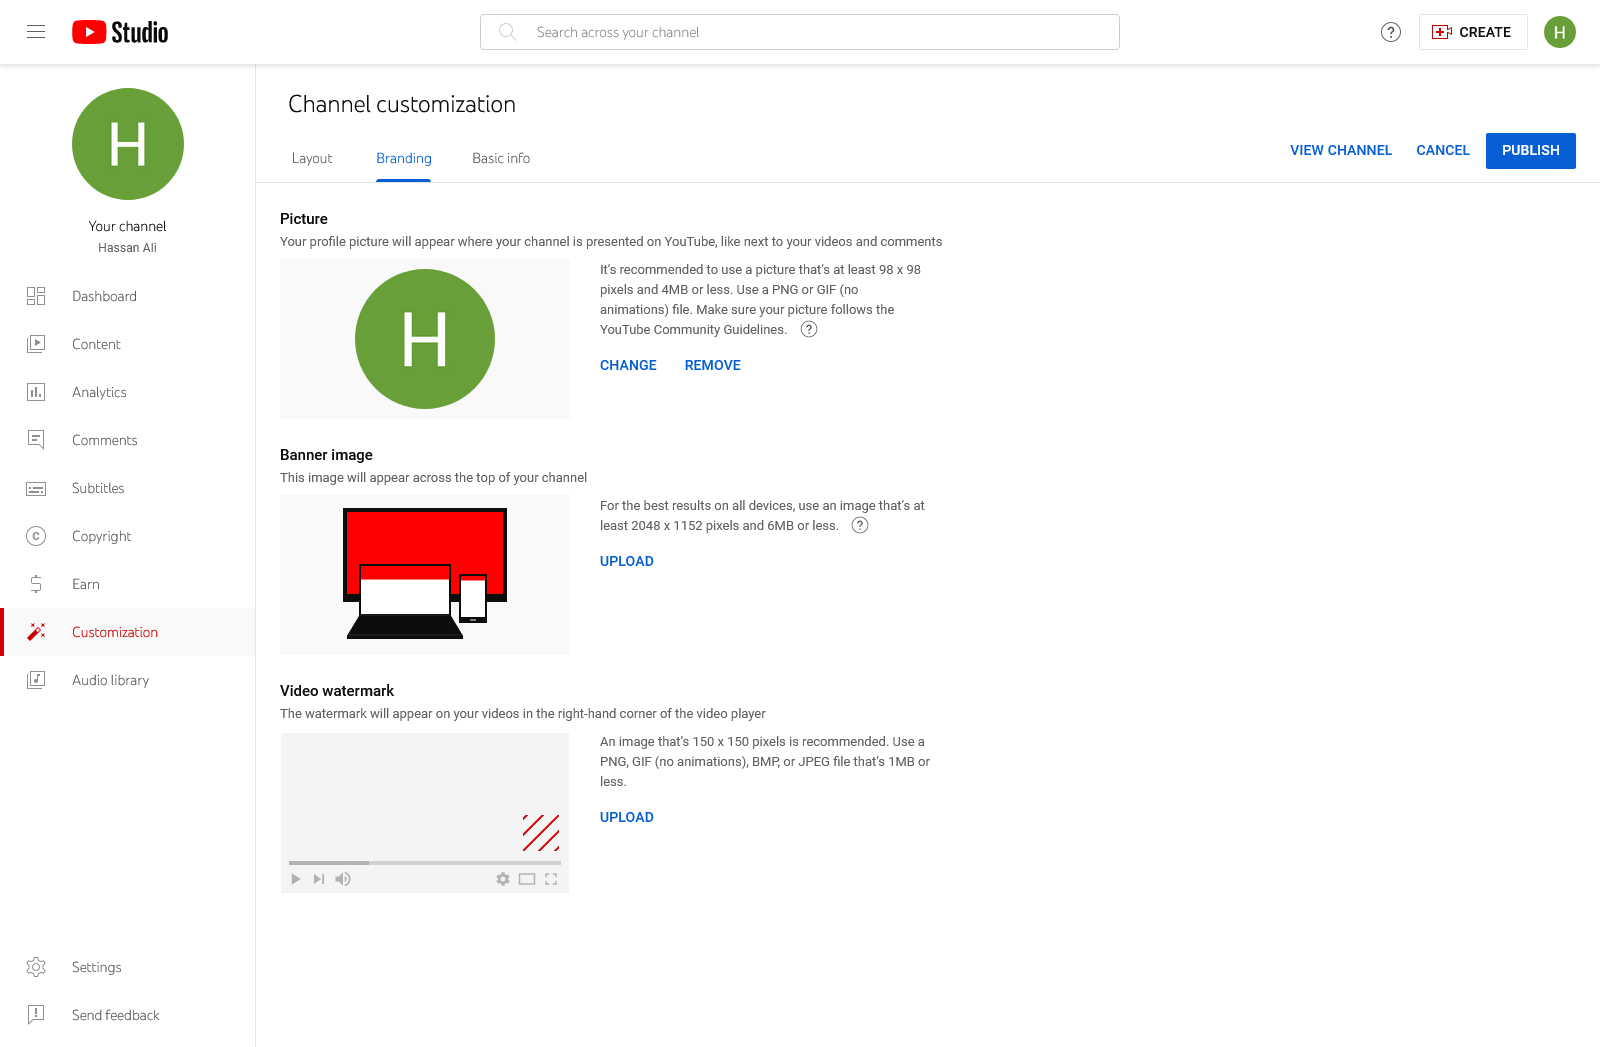
6. Add Video Watermark
Adding a video watermark to your channel can protect your content while also effectively promoting your brand. A watermark usually appears as a small logo or icon in one of the corners of your video. Platforms such as YouTube have made adding watermarks to your videos relatively easy.
To add a watermark, you first need to create a design that will serve as your watermark. It could be your channel’s logo or any image that represents your brand. Ensure that the image is clear and manageable, otherwise it may distract viewers from the actual video content.
Once your watermark is ready, proceed to your channel settings on your platform. On YouTube, for example, go to ‘Channel Advanced Settings,’ then select ‘Branding’. Here, you’ll find an option to upload a watermark. Please choose your design, decide when you want it to appear during the video (at the end, throughout the entire video, or at a custom start time), and save changes.
Once uploaded, the watermark will appear on all videos across your channel and help viewers identify your videos easily. Remember that watermarks are not foolproof protection against content theft, but they provide a level of deterrent for potential infringers.
7. Add Channel Art
On your channel page, hover over the banner area and click on the camera icon labelled ‘Add channel art.’ Next, upload an image from your computer, ideally 2560 x 1440 pixels, with a maximum file size of 6MB, so your channel art looks good across different device types.
You can preview how your channel art will appear across devices before saving. Remember, it’s important that your image is clear, visually appealing, and reflects your brand or the content of your videos. Finally, click ‘Select’ to save changes. You have successfully created YouTube channel art.
8. Add About Section
The ‘About’ section on your YouTube channel serves as the digital face of your brand. It’s a crucial space where viewers can learn more about the type of content you produce, your posting schedule, and any other pertinent information about your channel. About section is not just informational but also helps boost your channel’s SEO. Therefore, it’s crucial to optimize this section with relevant details.
To add details to the ‘About’ section, navigate to your YouTube channel homepage and click on the ‘Customize Channel’ button. Then, select the ‘Basic Info’ tab, and here you’ll find the ‘Channel Description’ box to provide a brief overview of your channel’s content and purpose.
Furthermore, you can also add contact details for business inquiries and links to your social media profiles or any external websites. Adding these details not only enhances your credibility but also provides multiple touchpoints for potential collaborations or partnerships.
9. Create Channel Trailer
Creating your channel’s trailer for your YouTube channel is an excellent way to attract new subscribers and retain existing ones. A channel trailer acts as a visual synopsis of your content, giving viewers a glimpse of what to expect from your channel. To create an amazing trailer, focus on the key elements defining your content, such as the topics you cover, the style of your videos, or your unique selling points. Once you have these outlined, script a concise and engaging video that communicates these aspects to your audience.
Make sure that the trailer is short (between 30 seconds to 1 minute is ideal), clear, and visually appealing. Use graphics and text overlays to highlight key points and reinforce your message. Finally, upload the video to YouTube and set it as your channel trailer in the ‘Customize Channel’ section under ‘Home.’ Remember to include a compelling call-to-action in both the video and description box to encourage viewers to subscribe.
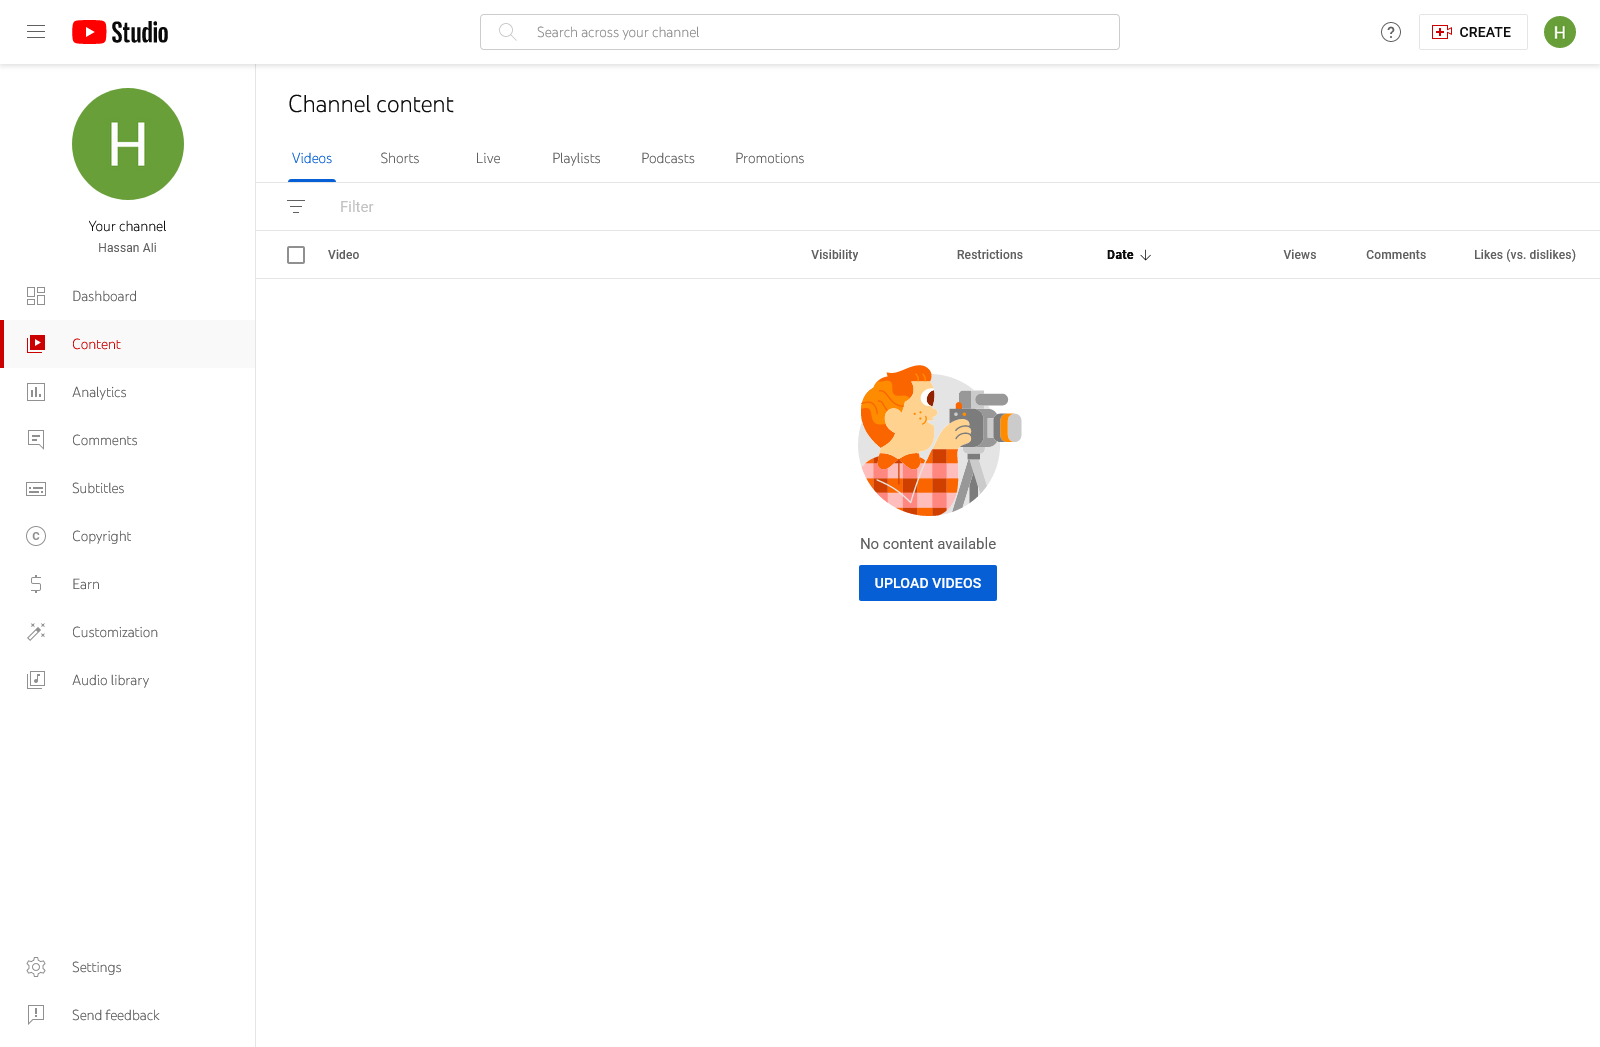
10. Post Your First Video
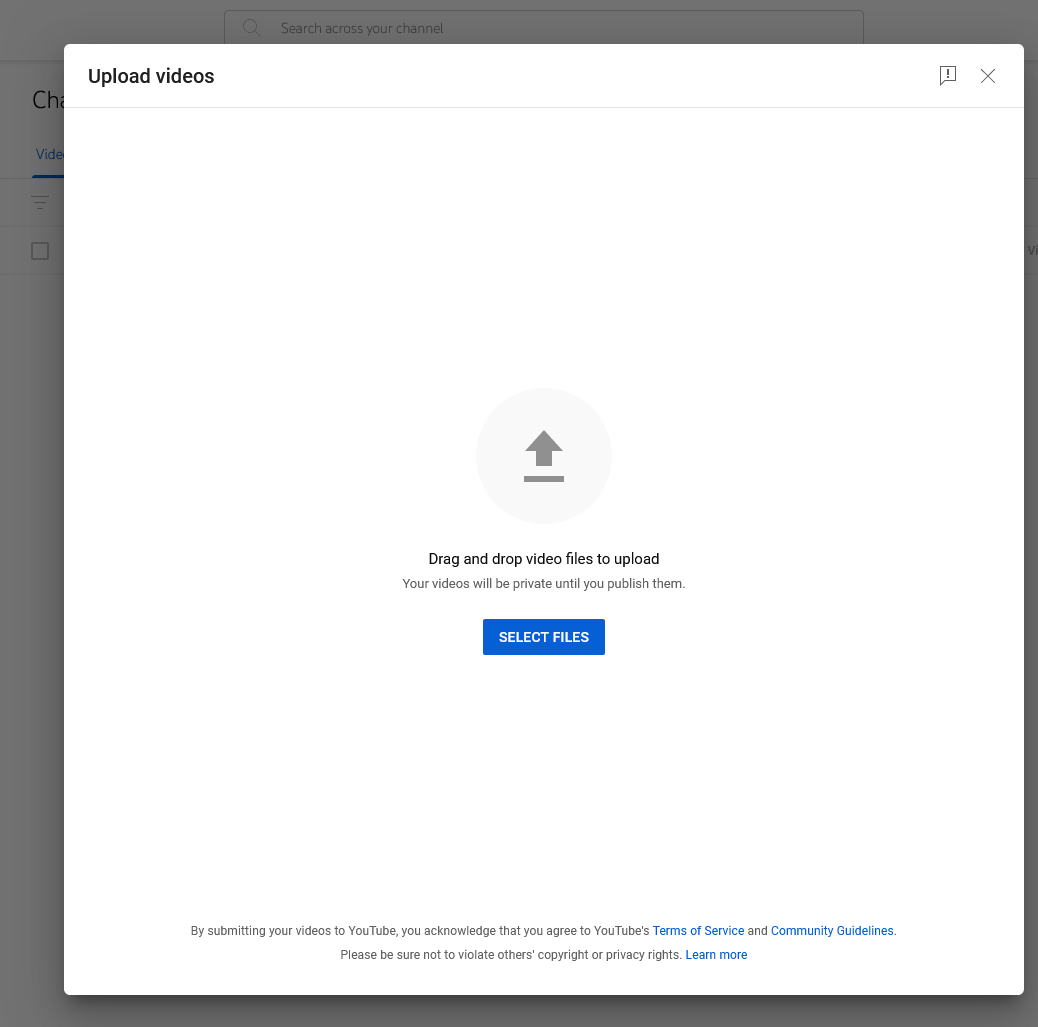
Once your channel is set up, you are ready to upload your first video. To do this, click the video camera icon at the top of the YouTube homepage and select “Upload Video.” You will then be directed to the upload page. Here, you can either drag and drop your video file or click on the “SELECT FILES” button to browse your files and select the video you wish to upload.
While your video is uploading, you can add key information such as the title, description, and tags. The title should be compelling and give viewers an idea of what the video is about. The description can provide more details about the video and include links to your social media accounts or any other relevant websites. Tags are keywords that help viewers find your video when they search on YouTube.
Once the basic information is filled out, you can add your video to a playlist, select a thumbnail, and add end screens or cards that appear at specific points during your video. These are all optional but can enhance viewer engagement.
Before you publish your video, selecting the right privacy setting is important. You have three options: Public (anyone can see it), Unlisted (only people with the link can see it), or Private (only you and anyone you choose can see it). If you’re ready for everyone to see your video, select Public.
Finally, click the Publish button to publish your video. Your video is now live on your channel and ready for viewing.

The watch time on YouTube is equally impressive, with billions of hours watched daily. This immense engagement makes YouTube the perfect place to reach a broad audience.
Moreover, YouTube channels that have been monetized pay out millions of dollars each year to their creators through advertising revenue, memberships, and Super Chat, among other revenue streams. The potential is vast, but so is the competition. The key to success lies in starting right and growing your channel strategically.
Monetization on YouTube is a goal for many creators. However, it requires meeting specific criteria, such as accumulating 4,000 valid public watch hours over 12 months and having at least 1,000 subscribers. Once you meet these thresholds, you can apply for the YouTube Partner Program and start earning from your videos. But before you reach that point, let’s focus on the basics — getting your channel up and running.